全站已搬至ConoHa

被 $Menci$ 安利,改在ConoHa买了台 $vps$,双核 $1GB$ 内存(其实我开了 $4GB$ $swap$),$50GB$ $SSD$,跑了一个 $OJ$ 和几个静态站,效果还不错,在这里记录一下配置。

我也来安利一波邀请码

关于ConoHa

ConoHa 是来自日本GMO旗下的一个VPS主机品牌商家,我的 $vps$ 是900日元/月,$cpu$ 为 2x Intel Xeon CPU E5-2660 v3 @ 2.6GHz,硬盘由于是 $SSD$,比我以前用的某 $vps$ 快多了……
不过无力吐槽 $ConoHa$ 的面板

ConoHa

ConoHa

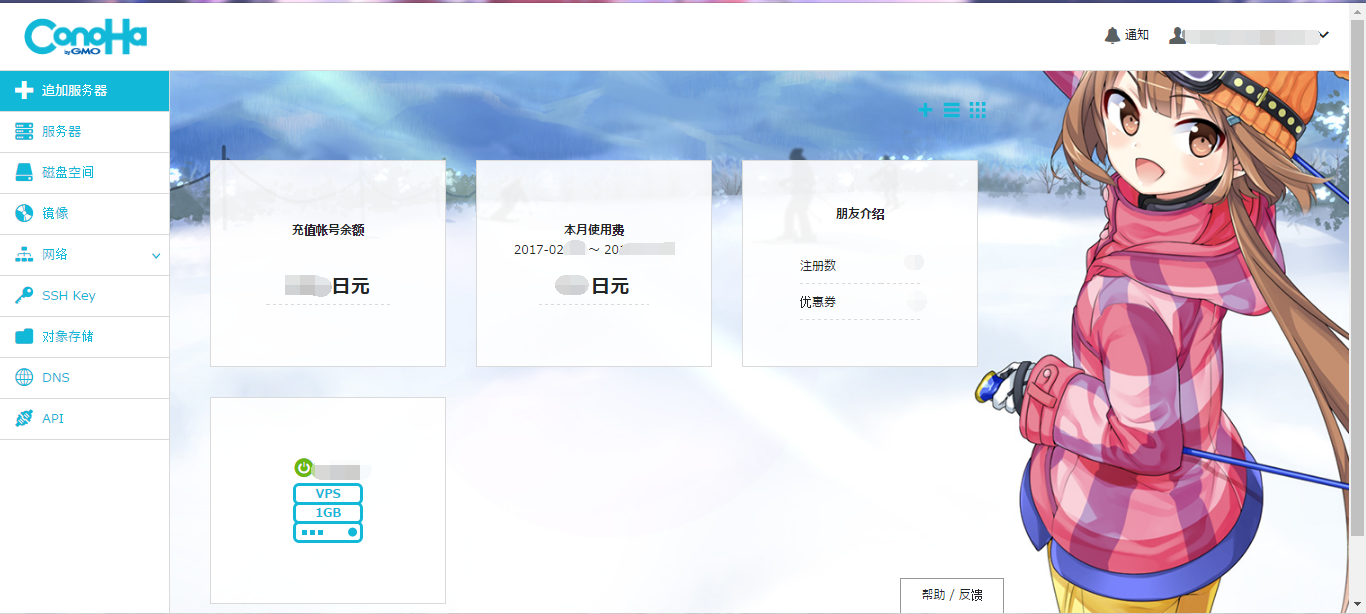
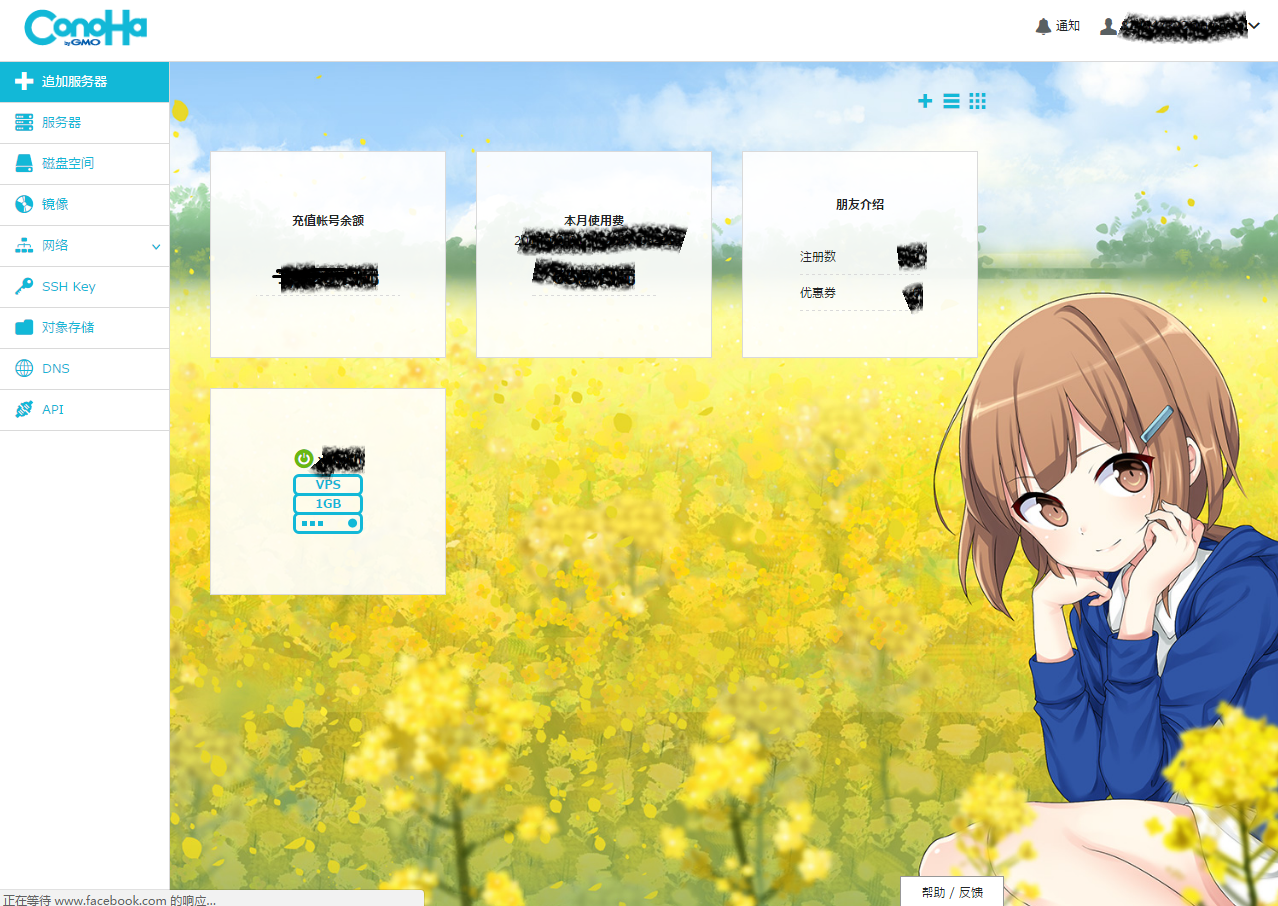
虽然很可爱(竟然有 vps 娘),但缺失一些高级功能(其实会命令行就行),不过她的在线控制台是我见过的最吼的…
我装的系统为 Ubuntu 16.10 64位,以下配置均以此系统为准

安装ss

安装和配置

先 $ssh$ 到 $vps$,然后执行:

1
2
3
apt-get update
apt-get install python-pip
pip install shadowsocks

接着在一个目录下创建 $shadowsocks.json$。

1
vim shadowsocks.json

插入以下代码,并修改 serverpassword

1
2
3
4
5
6
7
8
{
"server":"your ip",
"server_port":8388,
"local_port":1080,
"password":"your password",
"timeout":600,
"method":"aes-256-cfb"
}

使用 Supervisor

先安装 $Supervisor$

1
apt-get install python-pip python-m2crypto supervisor

然后,创建配置文件

1
vim /etc/supervisor/conf.d/shadowsocks.conf

插入以下代码,其中 ssserver -c 后路径为刚刚创建的配置文件的路径

1
2
3
4
[program:shadowsocks]
command=ssserver -c /etc/shadowsocks.json
autorestart=true
user=nobody

然后编辑 /etc/default/supervisor,插入上面的代码,然后在最后加上 ulimit -n 51200,保存。
最后重启,以后 $vps$ 重启了也只需要这两条命令:

1
2
service supervisor start
supervisorctl reload

如果你更改了 SSserver 的配置文件,可以用如下命令让 SSserver 重启:

1
supervisorctl restart shadowsocks

安装bbr加速

锐速已不再好用,更何况不支持最新 $Ubuntu$,我们采用开源的 $bbr$ 来加速,提升 ss 的速度。

首先更新内核至 kernel-generic_4.9.0

1
2
wget http://kernel.ubuntu.com/~kernel-ppa/mainline/v4.9-rc8/linux-image-4.9.0-040900rc8-generic_4.9.0-040900rc8.201612051443_amd64.deb
dpkg -i linux-image-4.9.0*.deb

更新GRUB系统引导文件

1
2
update-grub  #更新
reboot #重启

开启BBR

1
2
3
4
5
echo "net.core.default_qdisc=fq" >> /etc/sysctl.conf
echo "net.ipv4.tcp_congestion_control=bbr" >> /etc/sysctl.conf
sysctl -p #保存生效
sysctl net.ipv4.tcp_available_congestion_control #查看内核是否已开启BBR
lsmod | grep bbr #查看BBR是否启动

如果看到 $bbr$ 则成功开启。

配置静态主页

默认已安装 nginx

开放端口

开放需要的端口,如80,443…

1
2
ufw allow 80/tcp
ufw allow 443/tcp

配置nginx

1
vim /etc/nginx/nginx.conf

以下为我的配置文件(包含常用优化):

1
2
3
4
5
6
7
8
9
10
11
12
13
14
15
16
17
18
19
20
21
22
23
24
25
26
27
28
29
30
31
32
33
34
35
36
37
38
39
40
41
42
43
44
45
46
47
48
49
50
51
52
53
54
55
56
57
58
59
60
61
62
63
64
65
66
67
68
69
70
71
72
73
74
75
76
77
78
79
80
81
82
83
84
85
86
87
88
89
90
91
92
user www-data;
worker_processes auto;
pid /run/nginx.pid;
worker_rlimit_nofile 100000;
events {
worker_connections 768;
multi_accept on;
}

http {

##
# Basic Settings
##

sendfile on;
tcp_nopush on;
tcp_nodelay on;
keepalive_timeout 65;
types_hash_max_size 2048;
# server_tokens off;

# server_names_hash_bucket_size 64;
# server_name_in_redirect off;

include /etc/nginx/mime.types;
default_type application/octet-stream;

fastcgi_buffers 8 128k;
client_max_body_size 256M;

##
# SSL Settings
##

fastcgi_param HTTPS on;

##
# Logging Settings
##

access_log /var/log/nginx/access.log;
error_log /var/log/nginx/error.log;

##
# Gzip Settings
##

gzip on;
gzip_disable "msie6";

# gzip_vary on;
gzip_proxied any;
gzip_comp_level 5;
gzip_min_length 1000;
# gzip_buffers 16 8k;
# gzip_http_version 1.1;

##
# Virtual Host Configs
##

open_file_cache max=100000 inactive=20s;
open_file_cache_valid 30s;
open_file_cache_min_uses 2;
open_file_cache_errors on;

include /etc/nginx/conf.d/*.conf;
include /etc/nginx/sites-enabled/*;
}


#mail {
# # See sample authentication script at:
# # http://wiki.nginx.org/ImapAuthenticateWithApachePhpScript
#
# # auth_http localhost/auth.php;
# # pop3_capabilities "TOP" "USER";
# # imap_capabilities "IMAP4rev1" "UIDPLUS";
#
# server {
# listen localhost:110;
# protocol pop3;
# proxy on;
# }
#
# server {
# listen localhost:143;
# protocol imap;
# proxy on;
# }
#}

/etc/nginx/conf.d/ 继续配置每个网站就好了…..

关于hexo

使用 rsync插件….

Comments

Your browser is out-of-date!

Update your browser to view this website correctly. Update my browser now

×